The two most important software tools under developers disposal are an Integrated Development Environment (IDE) and a source code control system (SCCS). There is a myriad of SCCSs. Some of the better known ones are Team Foundation Server, CVS, Subversion, and others. Each one of them has its own advantages appropriate for the environment in which they are used. The simplicity and low maintenance are key SCCS features that an individual developer is interested in a SCCS.
After months of Windows Phone app development I reached the point where the absence of a SCCS was hampering my app development. Having used several different SCCS throughout my career, I found Subversion with TortoiseSVN client to be the best option for personal use. TortoiseSVN provides a GUI interface for Subversion. It is a free open-source client that seamlessly integrates into the Windows Explorer shell and Visual Studio. The installer consists of a single installer that installs Subversion and the TortoiseSVN client. Understanding the capabilities and limitations of Subversion and TortoiseSVN makes the software development a pleasant experiences. I highly recommend reading TortoiseSVN help which is by itself sufficient reading to able to fully utilize its potential. The goal of this post is not to rewrite what is already present in the help guide, but to describe the most commonly used operations in a concise manner and serve as a reference for the following operations: creating a repository, tagging, and branching.
Repository
Repository is a central store of data. There are two approaches to creating repository.
- A single repository shared between multiple projects
- One repository per project.
If you are new to TortoiseSVN I recommend creating one repository per project. Here are the steps to accomplish that.
Creating a repository
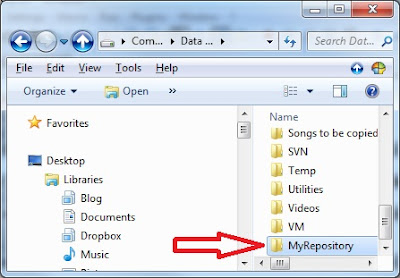
1. Create a folder for repository (i.e. MyRepository)
2. Create a folder inside MyRepository for your project (MyProject)
3. Right click on MyProject and choose Create repository here.
4. We need to create a repository folder structure. The folder structure recommended by Subversion consists of:
Trunk – Main line.
Branches – Temporary working code stream. A branch is created when starting a new feature development. It is deleted upon feature completion and merged into to the trunk. The branch may be deleted only once it has been reintegrated into the trunk.
Tags – Permanent markers such as MyProject release version. Once the branch has been merged into to the trunk, we may want to create a tag so that we know at what point the trunk was modified. Tags are particularly useful for tagging release versions.
5. Since our repository will contain trunk, branches, and tags, we need to create a corresponding folder structure. Create another folder (in any location) with following subfolders: trunk, branches, tags. This folder will be used only temporarily in order to import the folder structure into the repository.
6. Right click on the folder and choose Import making sure the URL repository is pointing to your project trunk. This will copy the 3 subfolders into the repository. You may delete the entire temporary folder now. It is not needed anymore.
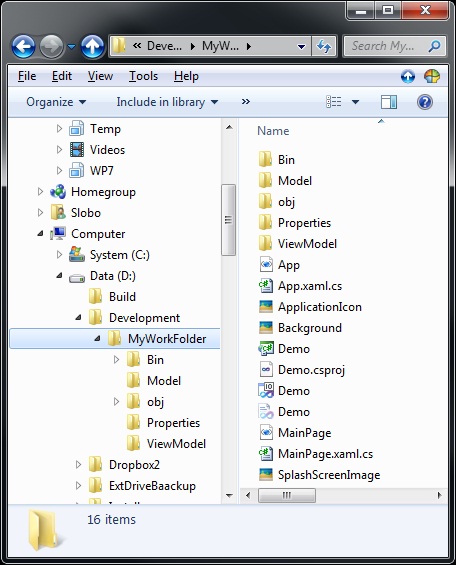
7. Create a working project folder (anywhere outside of repository folder) where you will be doing the development (MyWorkFolder). We will point it to the trunk initially.
8. Now we need to get the files into the repository. If you already have project files, copy your entire project to the MyWorkFolder folder created in the previous step.
9. Right click on the folder (MyWorkFolder) and choose SVN Checkout. The repository URL will point to the project folder (MyProject) in the repository that contains the 3 imported folders. You need to edit the URL by appending trunk to the end of URL since we want the files to be stored in the trunk folder. Also, make sure the checkout directory is pointing to the location of your folder. There should be no name of the project at the end. The warning message the folder is not empty will be displayed. That is fine, you may click OK.
Since the file://Drive:/MyRepository/MyProject/trunk folder was empty no file was brought down.
10. Right click on the folder MyWorkFolder and select SVN Add. Add all the files.
11. Right click on the MyWorkFolder folder again and choose SVN Commit. This will copy the all the files that were added in the previous step to the file://Drive:/MyRepository/MyProject/trunk. Make sure at every step that the repository link is pointing to the trunk.
Tags
Tags are static snapshots of the project. They are not used for development (that is what branches are for). Working on a tag revision is not a good idea, but because your local files are not write protected there is nothing to stop you doing this by mistake. However, if you try to commit to a path in the repository which contains /tags/, TortoiseSVN will warn you. It may be that you need to make further changes to a release which you have already tagged. The correct way to handle this is to create a new branch from the tag first and commit the branch. Make your changes on this branch and then create a new tag from this new branch, e.g. Version_1.0.1.
If you modify a working copy created from a branch and commit, then all changes go to the new branch and not the trunk. Only the modifications are stored. The rest remains a cheap copy.
1. Creating a tag is the same as creating a branch. Right click on MyWorkFolder folder and choose Branch/tag option.
2. The To URL will point to file://Drive/MyRepository/MyProject/trunk. You need to edit this to file://Drive/MyRepository/MyProject/tags/TagName where tag name would typically be the release name such as Release_v1.0.
The revision graph shows the tag created.
Branches
If you wish to start a new development, the best approach it to create a new branch. Once the development has been completed the branch will have to be merged with the trunk. Let’s create a new branch now.
1. Right click MyWorkFolder and choose Branch/Tag.
Creating a new folder and pointing it to the working copy will make the merge process smoother.


Would you be able to set this up on say your home server and then access it externally. What would be the best way VPN?
thanks
Yes, you can setup a home server and access it externally. There is no need for VPN. Here is the tutorial to setting up a home server: http://tortoisesvn.net/docs/nightly/TortoiseSVN_en/tsvn-serversetup-svnserve.html